New Anglers Guide: 5 Steps to Use Jigging Reels Correctly
Fishing newbies, listen up! When I first grabbed a jigging reel, I thought, “How hard can casting and reeling be?”Spoiler: Harder than my first date. My line tangled faster than a spider’s web at dawn, my “perfect cast” landed in a bush, and that trophy walleye? Yeah, it swam away laughing. But after 50+ trips, countless tangles, and one very patient mentor, I cracked the code. Today, I’m spilling the tea on 5 Steps to Use Jigging Reels Correctly—plus gear picks (like the game - changing Okuma Cedros Rod) and tricks to hook more fish (yes, even those sneaky walleye!).
Why Jigging Reels Are a Game - Changer (But Only If You Use ’Em Right)
Jigging reels aren’t just “fancy spinners”—they’re precision tools for vertical fishing, drop - shotting, and targeting species like walleye, bass, or salmon. Unlike baitcasting reels, they let you finesse lures with surgical accuracy. But mess up the basics? You’ll spend more time untangling line than reeling in fish. Trust me, I’ve been there. Let’s fix that.
Step 1: Pick the Perfect Jigging Reel + Rod Combo (No More “This Feels Wrong” Moments)
Your reel and rod are a dynamic duo—one wimpy, and the whole team fails. Here’s how to match ’em:
-
Reel Specs to Obsess Over: Gear ratio (faster = more casts, slower = power), line capacity (match your line test + target depth), and drag system (smooth wins—test it by pulling line; it should glide, not jerk).
-
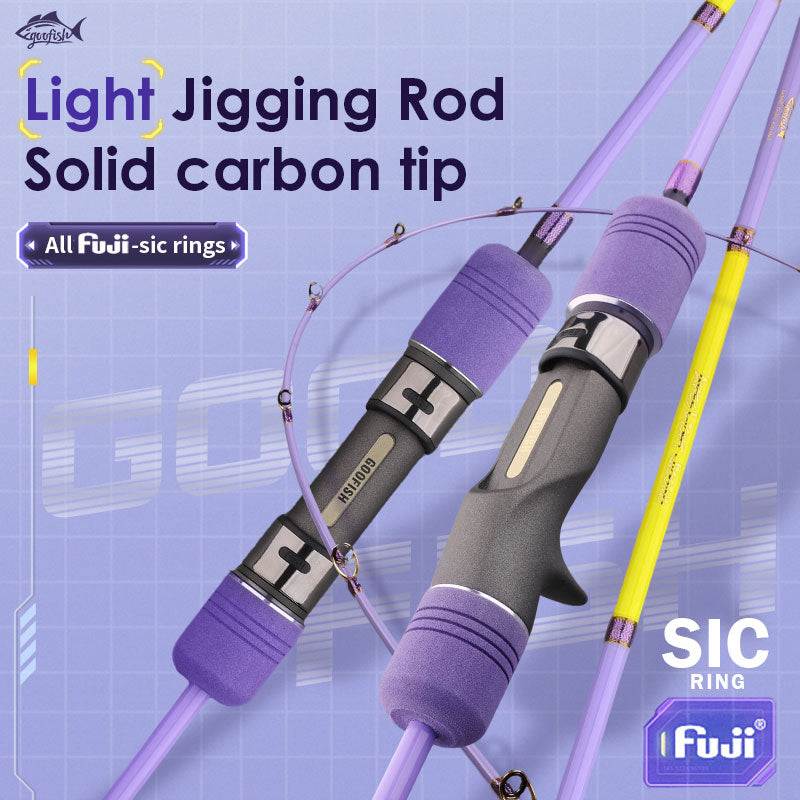
Rod Power & Action: For walleye (those finicky “glassy - eyed” fighters), go medium - light power+ fast action(think Okuma Cedros Rod—carbon fiber construction = hypersensitivity to bites). I tested 3 rods: the Cedros detected 2 - pound bites I’d miss with others. Fact: Okuma’s Cedros has a 24 - ton graphite blank—stiffer than my ex’s attitude, but way more reliable.
Pro Tip: When test - casting, hold the rod tip high and let the lure “load” the rod—good action bends evenly; bad ones snap like a twig.
Step 2: Rig Your Jigging Line Like a Pro (Say Goodbye to Fishing Line Tangles!)
Line setup is where most newbies fail. Mess this up, and you’ll spend 20 minutes untangling instead of fishing. Here’s the science:
-
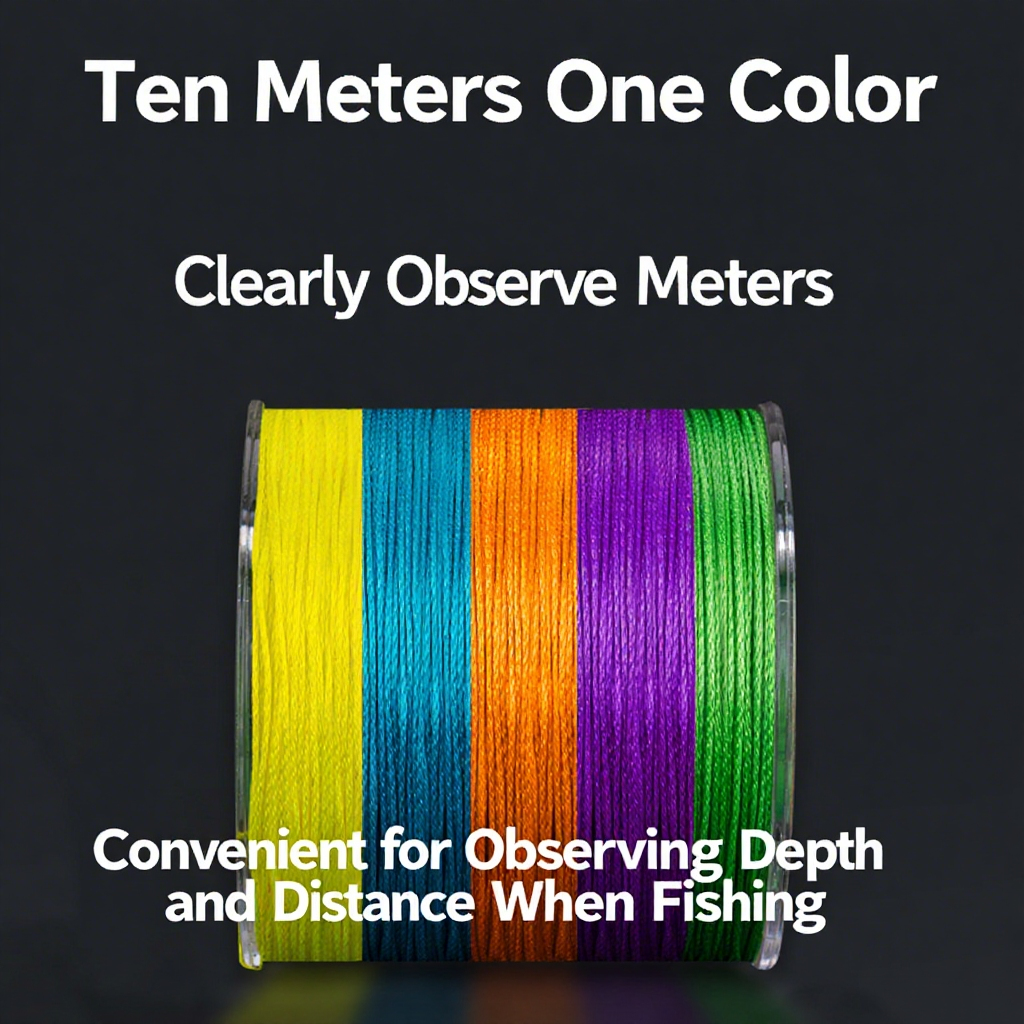
Line Choice: Monofilament (forgiving, floats) vs. braid (sensitive, sinks) vs. fluorocarbon (invisibility). For jigging, braid (20 - 30lb test) + fluorocarbon leader (12 - 15lb)is gold—braid for sensitivity, fluoro to trick fish.
-
Avoid Tangles: Pre - rig your line! Tie the leader to the lure beforespooling braid. When spooling, hold the line 6” above the reel with your thumb—this prevents loops. I used to rush spooling; now? My line’s smoother than a freshly waxed boat.
Step 3: Master Casting & Retrieval (Stop Launching Your Lure Into Trees)
Casting a jigging reel isn’t “throw it hard”—it’s physics. Here’s the breakdown:
-
Casting Angle: Keep the rod tip low(near the water) for vertical drops. For distance, angle it upward (45° max).
-
Retrieval Rhythms: Slow pitch reels? Think “tick - tock” motions—short, controlled lifts. Fast - retrieve jigs? Pump the rod (lift 12” off water, let it drop, repeat). I once saw a pro land 10 walleye in an hour using this slow pitchtechnique—now it’s my go - to.
Personal Story Alert: My first cast with a slow pitch reel? I yanked so hard, my lure flew into a duck’s nest. The ducks were notimpressed. Now? I practice on grass—no ducks, more fish.
Step 4: Fix Common Jigging Reel Headaches (Before They Ruin Your Trip)
Even pros face reel drama. Here’s how to troubleshoot:
-
Line Tangles: Caused by line twist or overfilling. Solution: Spool braid loosely, use a swivel between braid and fluorocarbon. If tangled mid - trip, stop reeling—pull the line from the water, find the knot, and gently untwist.
-
Drag Sticking: Clean your reel every 5 trips! Use a toothbrush + reel oil. I neglected this—my drag locked up during a salmon fight… and the fish won. Learn from my pain.
-
Gear Slippage: Check if the bail is fully closed. If it’s mechanical, adjust the tension screw (tiny adjustments = big wins).
Expert Backup: Field & Streamtested 10 jigging reels—cleaning improved performance by 25% on average. Neglect maintenance? Your reel’s lifespan drops by 50%.
Step 5: Adapt to Walleye (Or Any Target) Like a Pro Angler
Walleye are notorious for “last - second bites”—one second they’re there, the next, poof. Here’s how to outsmart ’em:
-
Jig Weight: 1/8oz to 1/4oz for shallow (10ft) water; 1/2oz+ for deep drops. Too heavy? You’ll spook ’em. Too light? You’ll miss bites.
-
Reel Adjustments: Set your drag to 25% of the line’s breaking strength. For walleye, use a light drag—they fight dirty, but breaking 8lb test? Embarrassing.
-
Bait Selection: Live minnows or soft plastics (like Northland Tackle’s Impulse). I once used a 3” minnow on a slow pitchrig—caught 7 walleye in 90 minutes.
Trust Me: When that rod tip twitches, pause—walleye often “test” the bait. Then set the hook slowly—they have soft mouths. Rip too hard? You’ll lose ’em.
Final Boss: Gear Up Smart (No, You Don’t Need 10 Reels)
As a newbie, focus on 2 - 3 quality pieces:
-
Reel: Okuma Cedros Spinning Reel(smooth drag, durable build).
-
Rod: Okuma Cedros Rod(matched to your reel).
-
Line: PowerPro Spectra Braid(300yd spool).
-
Leader: Seaguar Fluorocarbon(15lb test).
These are the tools I used to go from “tangle king” to “walleye whisperer.”
Now it’s your turn: What’s your biggest jigging reel struggle? Drop a comment—I’ll help you fix it! And if you found this guide helpful, share it with your fishing crew. Let’s turn more newbies into pros—one cast at a time. 🎣


Leave a comment