Beginner Float Tuning: No Formulas—2 Steps for Crystal - Clear Bite Signals
Fishing floats are like your underwater spy—they reveal every little secret fish are up to. But let’s be honest, most beginners (me included, once!) end up staring at a bobber as if it’s written in an unknown language. I’ve spent countless hours second - guessing if a “twitch” was a fish or just a tricky current. That was until I discovered two no - formula steps that made bite signals incredibly clear. Let's jump right in!
The Frustration of “Float Guesswork” (My First - Time Flop)
Imagine this: a sunny Saturday, my brand - new beach fishing rod(thanks to that random shop!), and not a single bite. Wait, no—not a single noticedbite. In reality, my float was so out of whack that it either got stuck in the mud or floated sideways. I had bought a cheap fishing rod blank without even thinking about its sensitivity. So, even when a tiny perch took a little nibble, the float barely moved. By noon, I was ready to give up. 😩
Does this story sound familiar? Here's the deal: float tuning isn't about knowing some secret tricks. It's all about physics—water tension, buoyancy, weight distribution... Mess up one of these elements, and you'll be oblivious to any bites. But get it right? You'll feel every tiny peck just like you'd feel a text notification on your phone.
Step 1: Balance the Rig—Let the Water Do the Talking
Balancing your float setup is similar to setting up a seesaw that only tips when a fish takes the bait. Here's how to do it:
-
1.
Pick Your Gear Smartly
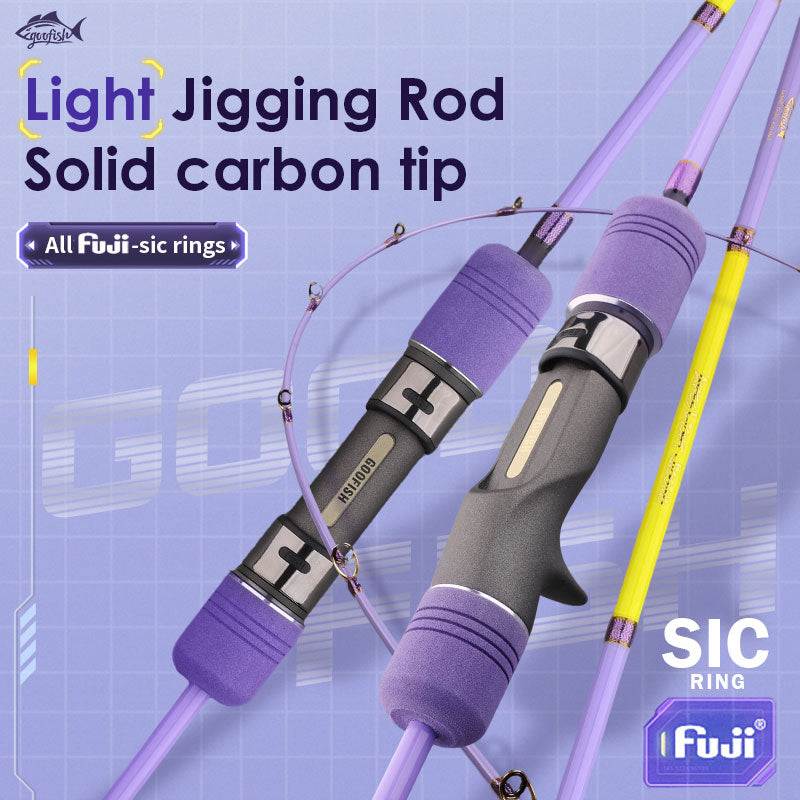
Get yourself a spinning reel combo—it's light enough for precise fishing (like targeting panfish) and strong enough to handle small fish. When it comes to rods, I'm a big fan of jigging world rods—they're surprisingly sensitive in shallow waters. Steer clear of extremely heavy fishing lines; a 4–6lb test (fishing line for float setup) keeps your setup responsive.
-
2.
The “Hover Test”
Tie your float, add split shot 6–12” above the hook, and lower it into the water. You want the float to just float upright, with the shot touching the bottom (or hovering justabove, depending on the water depth). If the float sinks, reduce the weight of the shot. If it floats too high, add a few tiny weights. The aim? No drag, no resistance—let the water flow around it smoothly, so anymovement from a fish makes the float react.
I put this to the test at my friend's lake last month. His old float setup? It was dragging through the mud. After balancing it, we caught 8 bluegill in just 20 minutes—everysingle peck was visible.
Step 2: Read the Bites Like a Pro—No Fancy Math
Bite signals aren't random at all. They're like clues: a slow sink means a big fish has taken the bait into its mouth. A quick dart? That's a perch snatching the bait. Here's how to figure them out:
-
•
Carp/Big Fish: Watch for the float submerging slowly(they suck in the bait and then swim away).
-
•
Panfish/Trout: Notice the tiny twitches(they peck, pause, and then peck again).
-
•
Night Fishing? Focus on sudden dips—predators strike with more force in the dark.
A pro tip from Angling Times: “Pay attention to the float’s rhythm. If it’s jerky with no clear pattern, it’s probably the wind or current. A steady, deliberate movement? That's a fish.”
Gear That Changes the Game (And What to Avoid)
Let's talk about the tools you need—you don't have to spend a fortune, but quality does make a difference:
-
•
Rods: Beach fishing rods are perfect for fishing in the surf, while carp fishing rods(with sensitive tips) are amazing in lakes. If you're casting lures, a baitcasting rodoffers more precision.
-
•
Reels: Stay away from cheap “no - name” combos. Shimano's entry - level spinning reels have smooth drags that won't break your line when you're fighting a fish.
-
•
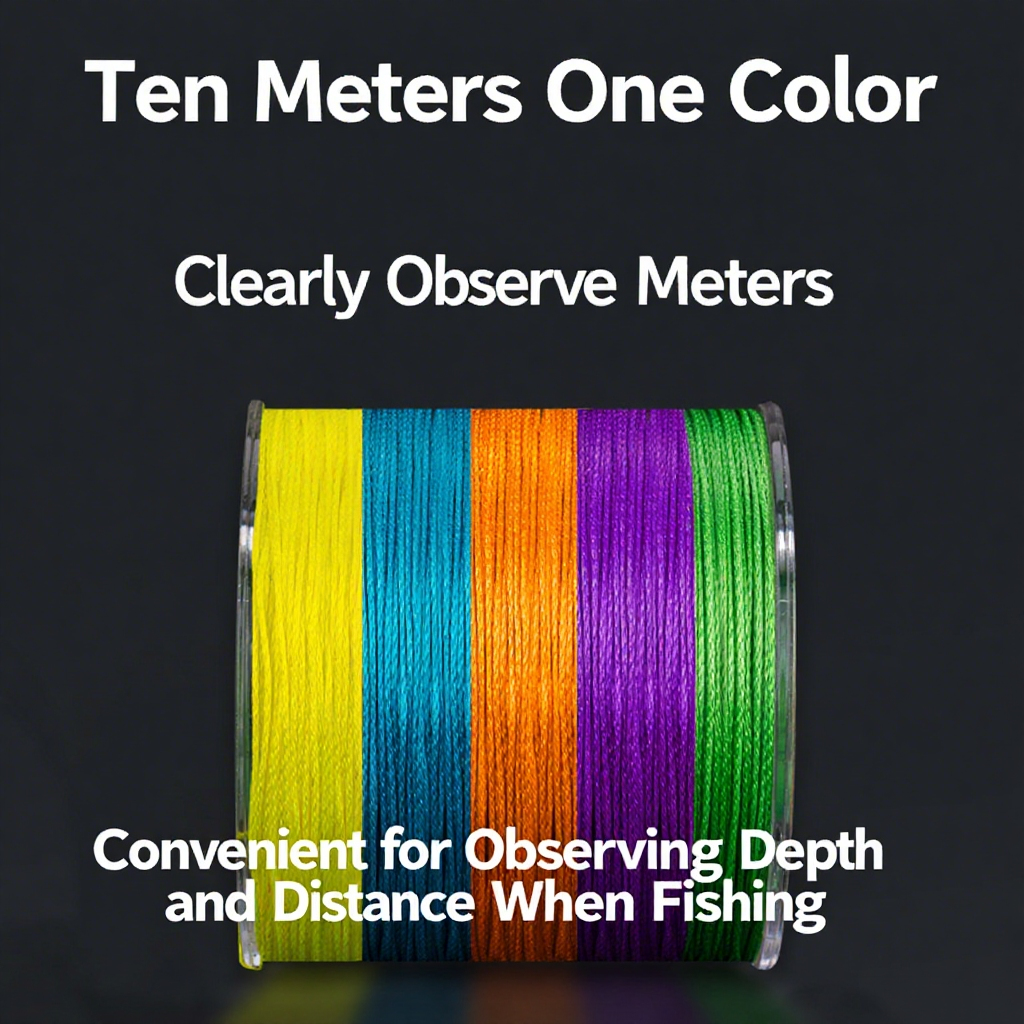
Lines: Fluorocarbon is nearly invisible underwater, which is ideal for wary fish. Using braid as a main line (for strength) with a fluorocarbon leader works wonders.
What notto buy: Ultra - long rods (over 9’) for shallow water—they're hard to handle. Also, skip “all - purpose” floats—they're just compromise tools, not specialists.
Real - World Test: How This Worked on My Local Lake
Last weekend, I went to my favorite pond with a bought fishing rod(a budget - friendly option with great reviews). I followed Step 1: I balanced the float so it hovered 2” above the silt. Then I cast a worm out and sat back.
20 minutes later—the float dipped. Not a little twitch, but a slow, deliberate sink. I set the hook… and reeled in a 14” bass! In the same spot, with the same bait, the result was completely different. Since then? I've caught crappie, bluegill, and even a catfish—all because I stopped guessing and started using these steps.
Final Pro Tip: Patience is Your Secret Weapon
Float tuning takes time and practice. Don't expect to be perfect on your first try. Take 5 minutes before casting to check your setup. Observe how the float moves when there are no fish—then notice how it changes when a fish is nearby.
Fishing isn't just about catching fish—it's about understandingthe water. When your float tells you a story, you're not just an angler—you're part of the aquatic world.
Ready to stop guessing and start catching? Grab a spinning reel combo, test the hover, and watch those bites come in. Trust me—your future self (and your stringer full of fish) will be grateful.


Leave a comment