


A braid-to-leader knot hesitates at the tip. You wind a little harder, it jumps through, and the same thing happens on the next retrieve. Before blaming the rod or changing to thinner line, find out what is actually making contact.
If a leader knot catches in rod guides, stop adding force. Unload the outfit, remove terminal tackle, inspect the connection and the complete guide path, then check passage gently. Knot bulk, a protruding tag end, incorrect routing and a damaged insert are different problems. They need different responses.
This guide concerns external-guide rods and mainline-to-leader connections. A swivel, split ring, lure clip or hook is terminal hardware, not a knot that should be wound into the tip. Internal-line rods and roller-guide systems require their own instructions.
1. Separate a light tick from an actual obstruction
A sound alone cannot tell you whether the connection is harmlessly touching a ring or being stopped by it. Note where the event happens and what you observe: a faint sound, hesitation, a hard stop, a pulled loop or visible damage.
Do not repeat powerful casts or loaded retrieves to reproduce the problem. A connection that needs a jerk to pass has not demonstrated suitable clearance. If resistance develops while fishing, recover and secure the tackle under control, with crew assistance where needed, before investigating.
Useful observations include whether the event occurs at one guide, several guides or only the tip; whether it happens during retrieval or line release; and whether the problem began after a new knot, a different leader or an impact to the rod. These clues narrow the check without proving the cause.
2. Make the inspection unloaded and hook-free
Remove terminal tackle from the working end and put sharp items away. Support the rod on a stable surface with room for its full length. Keep fingers clear of reel mechanisms, and never wrap line around a hand to create test tension.
Confirm that the line follows the intended route through every guide opening and does not circle the blank or tip. Check the reel route too. A tip wrap or missed ring can feel like a connection problem even when the knot itself is not obstructed.
If you need a routing refresher, use our fishing rod threading guide. Do not correct a suspected knot problem by pulling harder against an unknown obstruction.
3. Inspect the connection as it actually sits
Use good light and magnification if helpful. Look at the whole connection, including the wraps, finishing section, leader end and braid tag. Compare it with reliable instructions for the exact knot and line combination.
- Uneven or displaced wraps: check whether construction or seating differs from the prescribed method.
- A bulky finishing section: distinguish the main knot body from the extra diameter created by its finish.
- A projecting tag: note whether it is the part that meets the ring first.
- Damage or slippage: fraying, cuts, a shifted connection or uncertain condition require correction before fishing again.
Do not trim every tag flush as a universal clearance fix. The required finish and retained tag depend on the connection. Follow its instructions; if the knot is wrongly tied or uncertain, retie it correctly rather than shaving it down until it fits.
Do not burn the leader end or add glue, coatings or sleeves merely to make a knot pass. Such changes can alter the connection without establishing strength or compatibility. Collect line offcuts immediately.
4. Inspect the ring, frame and tip separately
Look for chips, cracks, missing inserts, bent frames, displaced components and debris. Inspect nearby line for repeated fraying or nicks, while remembering that wear can originate elsewhere in the outfit.
A premium insert material does not make a damaged ring suitable for use. Equally, the outside diameter of a guide frame does not tell you the available passage through its insert. Evaluate the actual opening and condition, not a guide brand or count alone.
Do not run bare fingers around a suspected sharp edge, file an insert, bend a frame back or enlarge an opening. Stop using damaged or questionable components and arrange competent assessment. Visual inspection cannot reveal every defect or certify the remaining strength of used line.

5. Check passage gently, without a hanging load
Only proceed when the line route and visible components are suitable for inspection. With terminal tackle removed and the rod supported, move the connection slowly toward the relevant opening, using the reel's normal controls as instructed. Stop at the first catch instead of pushing or snapping it through.
Observe which part meets the opening. Does the knot body stop, does a tag catch, or is the line actually touching the frame outside the ring? A different contact point calls for a different correction.
Do not use a heavy lure, a bent rod or an abrupt pull to prove clearance. A gentle check can identify obvious interference; it is not a strength test or a substitute for evaluating a complete casting setup.
6. Change one compatible feature at a time
If construction is incorrect, correct that first using the same suitable materials. If a properly constructed connection remains too bulky for the intended passage, consider another documented connection compatible with those line materials and diameters. Do not assume one named knot is always the smallest or strongest.
Changing leader diameter is a separate tackle decision. Do not weaken an otherwise appropriate leader solely to make a knot fit. Contact risk, intended fishing method, line specifications and the whole outfit still matter.
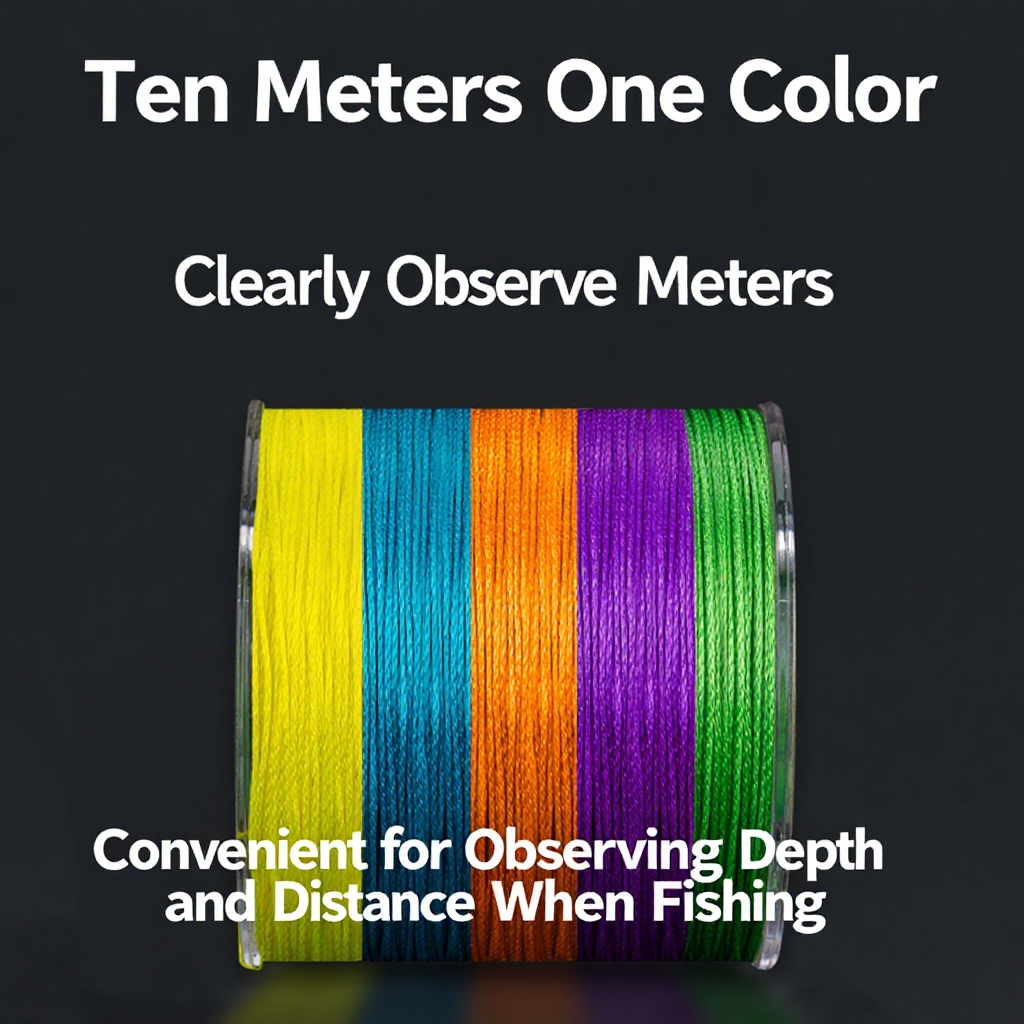
For anglers choosing replacement mainline, the GOOFISH Max-8 braided fishing line is a relevant product reference. Select its actual variant for the reel, rod and method, then verify the connection with your chosen leader. A braid name or strength label does not establish the finished knot diameter or guarantee passage through your guides.
Record the original line combination, connection, catching location and the single change made. If you replace the braid, leader and knot together, you cannot tell which change addressed the interference.
Should you keep the knot outside the guides?
That can be an arrangement to assess for a particular method, but it is not a universal repair. Shortening the leader changes its intended role and the way tackle is handled. Leaving an excessive drop outside the tip can introduce other casting or handling problems.
For vertical jigging, consider where the connection sits during recovery and landing, not just while the jig is at depth. Agree on the handling plan with the operator. Do not wind terminal hardware into the tip or use the leader to lift a fish.
Our jigging leader-length guide explains that separate decision. Leader length should not be changed by guesswork to conceal an unresolved damaged guide.
What not to change first
Do not buy a new rod simply because one poorly formed connection catches. Conversely, do not keep changing knots to work around a chipped insert. Identify whether the problem belongs to construction, dimensions, routing or condition.
Guide replacement or layout changes should be assessed by a competent rod builder. Larger rings alone do not establish an improvement in the complete outfit, and a jig-weight rating is not a connection-clearance specification.
Leader knot clearance FAQ
Should a leader knot pass through every rod guide?
Only where the intended setup requires it and the connection passes appropriately. Some arrangements keep the connection outside during part of the presentation. Check the method and complete outfit rather than assuming every guide accepts every knot.
Does a ticking sound mean the guide is damaged?
Not by itself. Inspect the connection, ring and line route. A sound does not establish the cause, while visible damage or persistent unexplained resistance calls for assessment.
Can I cut the tag shorter to stop the snag?
Follow the exact connection's finishing instructions. Do not sacrifice the required finish or assume a flush cut is suitable for every knot.
Will thinner braid always solve the problem?
No. Leader diameter, knot construction, finishing bulk, guide opening and condition all contribute. Select line for the fishing task, not clearance alone.
Can I test it with one hard cast?
Do not use a forceful cast as a clearance test. Begin with an unloaded inspection and resolve catching before using the outfit. Any subsequent casting must suit the rod's explicit casting guidance and a clear, safe area.
Locate the catch before choosing the fix. A correctly routed line, suitable connection and sound guide system matter more than pulling harder or relying on a universal knot recommendation.





Leave a comment