


Your shelter is bright enough to find a tackle box, yet the fine line beside the rod tip seems to disappear. You lean forward, the line flashes into view, and then a reflection from the lamp takes its place.
Ice fishing shelter lighting is a visibility problem before it is a brightness problem. The lamp, background, reflective surfaces and your viewing position all influence what you can distinguish. Turning every light up is not always the most useful first adjustment.
Build the lighting around three separate jobs: moving around the shelter, inspecting small tackle and observing the fishing setup. One lamp may support more than one job, but check each task rather than assuming that a well-lit roof means a readable line.
Start from the position where you actually fish
Set the rod and seat in their intended positions. With terminal tackle secured and the outfit out of active fishing, look toward the tip and the line section you expect to watch. Do not assess the view only while standing over the equipment.
Note what sits behind that line: dark fabric, pale ice, a patterned jacket, a window or another angler's moving headlamp. A fine line that is clear against one background can become difficult to distinguish against another.
Choose a consistent reference area where practical. Do not place loose boards or screens where they could fall into the hole, block the exit or interfere with the line. An existing plain shelter panel may be enough.
Then make a small, controlled movement with the secured setup and observe whether the line and tip remain distinguishable. This is a visibility check, not a simulated bite or a test of sensitivity.
Adjust lamp angle before adding output
A light source shining toward your face can compete with the detail you want to inspect. A glossy lid or metal component may also reflect a bright patch into the viewing area.
Move or angle a suitable task light so that it illuminates the work rather than pointing directly at your eyes. Follow its mounting and clearance instructions. Check whether your own hand, hat brim or rod now throws a shadow over the critical area.
Make one change and look again from the seat. Try the available brightness settings only after checking position and background. The useful setting is the one that lets you perform the task comfortably without losing awareness of the surrounding space.
No single lamp angle, lumen figure or color-temperature number is correct for every shelter, line and viewer. Beam shape, distance, surfaces and individual vision all affect the result.
Separate line watching from close-up rigging
Line watching requires a usable view of the working reference. Tying a knot requires a clear view of a much smaller object near your hands. Those tasks may need different lamp positions.
For close work, secure the jig in an appropriate tray or holder and bring the work into a stable illuminated area. Keep exposed points away from skin. Use suitable magnification if needed rather than pulling a hook close to your face.
A headlamp follows your gaze, which can be useful, but it can also direct glare at another angler or cast a shadow when your hands move. Recheck the task as you actually perform it, not just with an empty tray.
When the knot or rig change is complete, restore the fishing view before lowering the presentation. A light aimed for threading a jig eye may no longer suit the tip-and-line reference.

Do not let a moving shadow become a bite
A brighter line is easier to observe, but visibility does not establish the cause of a movement. Your hand, a changing lamp angle, a moving shelter wall or a shifting reflection can alter what you perceive without a fish taking the bait.
Use a steady reference and compare line movement with rod feedback and the rest of the setup. An unexpected slackening deserves attention, but so do guide ice, contact with the hole edge and movement of the rod itself.
If the apparent event changes whenever you move your headlamp, first reassess the view. Do not change jig color, line material and cadence together to solve what may be an observation problem.
High-visibility line is not a lighting plan
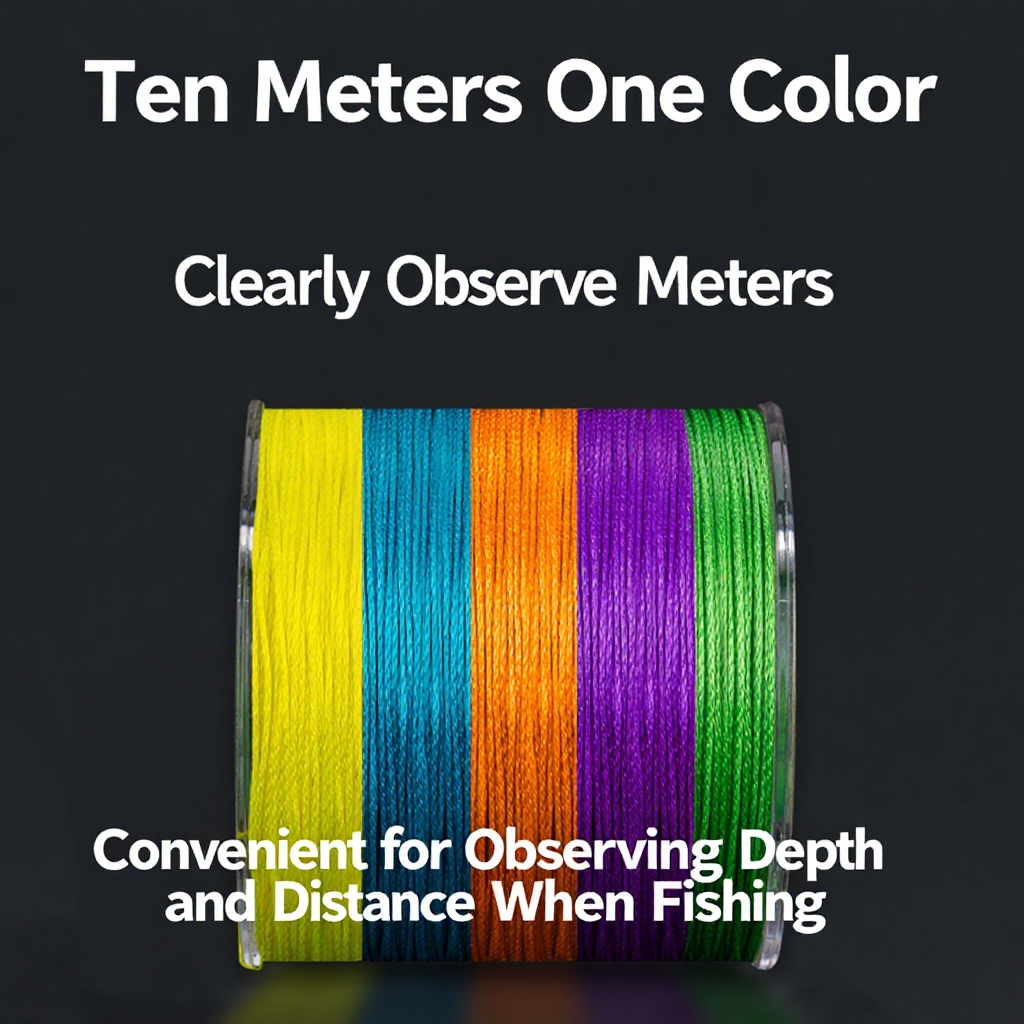
A colored mainline may be easier to distinguish in a particular view, but its label does not guarantee visibility against every background. Clear monofilament, braid and fluorocarbon leaders can also look different as the light and angle change.
Choose line for the complete fishing system, including its handling and connection requirements. Do not increase diameter or breaking strain solely to create a brighter visual marker without considering the effect on the presentation and outfit.
Do not assume every fishing line fluoresces under a particular lamp. Use only lighting and tackle treatments supported by their manufacturers. Avoid improvised paints, solvents or coatings on line, guides or reel controls.
A visible rod is not a powered indicator
The GOOFISH Iceseeker ice fishing spinning rod is listed as a nominal 32-inch, one-piece Fast-action spinning rod with a Solid Nano solid-carbon blank, cork split grip, FUJI reel seat and stainless steel guide rings without separate ceramic inserts. Do not treat it as an integrated LED bite alarm.
Choose between its green-wrap ML option, listed for 2–6 lb line and 1/32–1/4 oz lures, and blue-wrap M option, listed for 4–8 lb line and 1/8–3/8 oz lures, according to the intended complete presentation. Better illumination does not extend those ranges or guarantee detection of every take.
Likewise, a glow jig's finish, a lit screen and a task lamp perform different jobs. None automatically replaces the lighting needed to inspect a knot, control hooks or see your route out of the shelter.
Light the tool and hook before handling
Keep the close-work area ready before a hook needs attention. A practical light position should let you see the actual contact point without holding a lamp in the hand needed to control the tackle.
If considering the GOOFISH titanium alloy hook remover kit, check its actual size and operating method against the small hooks you intend to use. The material name does not establish suitability for every micro jig or handling situation.
Do not improvise around a hook you cannot see or reach appropriately. Keep sharp tools contained and do not let better lighting become an excuse for prolonged or uncontrolled handling.
Mount and power lights according to their instructions
Use lights intended for the environment and follow their requirements for mounting, moisture exposure, temperature, battery use and charging. A general outdoor label is not a universal cold-weather operating specification.
Keep lights secure and cords, where present, away from walking routes, the hole and moving line. Do not fasten a lamp to the rod tip or suspend heavy equipment from a part of the shelter not intended to support it.
Prepare a working backup before the trip. A task lamp is not a complete travel-lighting plan. If the primary light fails, secure the tackle and establish adequate lighting before continuing. Do not substitute a phone screen for a reliable plan simply because it still glows.
A repeatable lighting check
- Secure the tackle. Set the seat and rod in the actual working arrangement.
- Choose the reference. Identify the line or tip section you need to observe and its background.
- Position the light. Avoid direct glare and inspect for reflections or hand shadows.
- Try the task. Check both the fishing view and the close-up rigging area.
- Recheck after changes. A moved seat, new rod angle or shifted lamp can require another adjustment.
- Confirm the backup. Know where it is and how to operate it without scattering hooks.
Frequently asked questions
Is the brightest shelter light always the best option?
No. A bright source in the wrong place may create glare or obscure detail. Assess the actual task, background and view.
Should I always use red light?
Do not make one color a universal rule. Check whether you can distinguish the fine detail and labels required for the task, while avoiding unnecessary glare for yourself and others.
Will shelter lighting attract fish?
This setup is for human visibility. It does not establish an attraction effect or a catch-rate improvement.
Does a glowing marker confirm a bite?
No. It may help locate a component, but movement still needs interpretation in the context of the line, rod and conditions.
Light the task rather than the entire scene indiscriminately. A stable background, sensible lamp position and a checked viewing angle make the setup easier to understand without turning illumination into a performance claim.





Leave a comment