


How do you approach grouper jigging? Start with local species and regulations, identify a suitable fishing zone, and match your jig and tackle to depth, current, and structure. Then establish practical control of the presentation before experimenting with cadence or lure color.
No technique guarantees a big grouper on every trip. This guide focuses on boat-based metal-jig fishing and the decisions that help you fish more deliberately.
Identify the species and local rules first
Grouper is a common name covering multiple species with different distributions, sizes, and restrictions. Check seasons, minimum sizes, bag limits, protected-species rules, and permitted methods with the relevant fisheries authority.
Do not assume catch-and-release removes restrictions. Plan suitable identification, handling, and release procedures before fishing.
Assess structure and boat positioning
Reefs, ledges, wrecks, and other structure may be worth evaluating where the local species occur. Use appropriate local knowledge and navigation information rather than assuming every structure holds fish.
Consider drift direction, current, snag exposure, and the ability to keep a jig in the intended zone. Safe boat operation and clearance from other anglers take priority over maintaining a particular presentation.
Choose jig weight for depth and current
Depth alone does not determine the correct jig weight. Current, drift, braid resistance, and lure shape all affect descent and line angle. Select a weight and profile that allow you to work the target zone while staying within the rod's guidance.
If line angle becomes excessive or bottom contact is unclear, review boat positioning, drift, profile, and weight. Do not simply add heavier jigs beyond the equipment's range. See our jig-selection guide for a more detailed process.
Match the complete tackle setup
- Rod: Check intended technique, jig-weight range, line guidance, and manufacturer load instructions.
- Reel: Confirm capacity, compatible use, and appropriate drag operation.
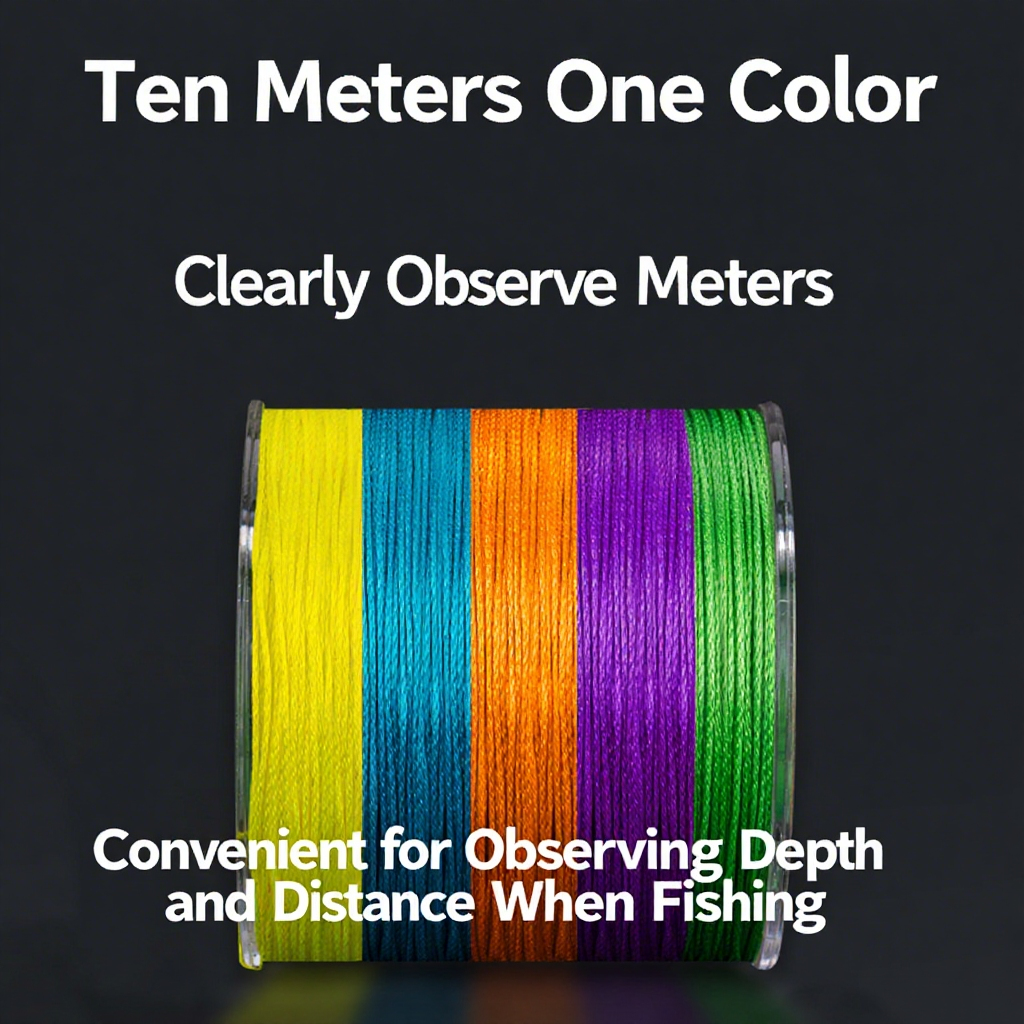
- Line: Compare actual specifications and condition. PE designation alone is not a universal breaking-strength rating.
- Leader and knots: Consider structure and abrasion exposure. No material or knot makes break-offs impossible.
- Hooks and connections: Inspect for damage, tangles, and secure attachment.
Browse our jigging rods by actual specifications, not a blanket heavy-duty label. A jig rating does not establish a maximum fish weight or permission to lift fish with the blank.
Choose a presentation your equipment supports
Active vertical jigging and slow-pitch presentations are options to evaluate, not guaranteed solutions. Slow pitch relies on compatible rod loading and recovery; it is not simply moving any setup more slowly.
Observe jig control and where bites occur. Change one variable at a time, such as cadence, lift length, fall presentation, or profile. For a technique comparison, read our fast vs slow pitch jigging guide.
Manage snag and abrasion risks
Near structure, repeatedly dragging or feeding uncontrolled slack can increase snag exposure. Maintain awareness of the jig's position and line angle, and reassess the drift when control is poor.
If the line snags, do not use the rod to apply uncontrolled force or wrap line around your hands. Follow safe tackle-handling procedures and equipment limits.
Timing is local, not a universal rule
Low-light periods can be worth evaluating in some situations, but there is no universal morning or evening window for all grouper fishing. Species, tides, current, weather, prey, and location can change the pattern.
Use recent local information and keep records of conditions instead of treating a fixed time of day as a guarantee.
Plan fighting, landing, and release
Use drag and handling methods compatible with the complete system and manufacturer guidance. Avoid high-sticking and do not assume the rod can lift a fish aboard. Prepare appropriate landing equipment and experienced help.
Fish brought up from depth may require species- and location-specific release practices. Follow fisheries guidance and applicable rules rather than improvising handling or release procedures.
A practical trip checklist
- Confirm the target species and regulations.
- Assess structure, depth, current, and safe drift arrangements.
- Choose compatible rods, reels, line, and jigs.
- Establish control of the target zone.
- Test presentations one variable at a time.
- Inspect line and connections after abrasion or damage.
- Use planned landing and release procedures.
Frequently asked questions
Does jigging guarantee a big grouper?
No. Fish availability, behavior, conditions, tackle, and technique all influence the result.
Is slow pitch always better for grouper?
No. Choose according to your equipment, conditions, and observed fish response.
What jig weight should I use?
Use a suitable starting weight within the rod's range, then adjust for current, drift, depth, and lure profile. There is no universal weight for every trip.
Will braid and fluorocarbon prevent break-offs?
No. Abrasion, damaged line, knots, drag, and equipment mismatch can still cause failures.
Bottom line: Build a grouper jigging plan around local knowledge, practical jig control, suitable tackle, and responsible handling. Replace guaranteed-catch promises with clear decisions you can test on the water.





Leave a comment