


Newbies Guide: 5 Quick Steps to Master Push Button Reels (No More Frustration!)
Introduction: Why Push Button Reels Are Beginner-Friendly (And How I Learned the Hard Way)
Let’s be real—fishing as a newbie is TOUGH. I remember my first trip: my cheap spinning reel jammed, I lost a 15-inch bass, and I almost gave up. Then a buddy handed me a push button fishing reel—and boom, the fight was on! These “click-and-cast” reels are game-changersfor new anglers. No complicated drag systems, smooth releases, and they’re budget-friendly. But to truly master them? You need strategy. Let’s dive into 5 steps (with real-world hacks) to go from “what’s this button?” to “catching fish like a pro.”
Step 1: Pick the Right Push Button Fishing Reel (Avoid These Rookie Mistakes)
Not all push button reels are created equal. Here’s how to choose one that won’t let you down:
-
Bearings Matter: Look for 5+1 or 7+1 ball bearings. More bearings = smoother retrieves. Angler’s Resourcetested 10 popular models—reels with 7+1 bearings had 30% less friction during casting. I learned this the hard way: my first reel (3 bearings) jammed every cast. Now? My 7+1 combo never fails.
-
Gear Ratio: A 3:1 ratio is ideal for beginners (balances speed and power). Faster ratios (5:1) suit finesse fishing; slower (2:1) work for heavy cover.
-
Brake System: Centrifugal brakes (adjustable via knobs) are newbie-friendly—they prevent backlashes. Magnetic brakes? Trickier to tweak. I once forgot to adjust brakes on a fast retrieve reel—my lure sailed into a tree! 🤦♂️
Pro Tip: Start with a mid-range reel (60). Brands like Zebco or Pflueger make reliable options. Save the $200 “pro” reels for later—you’ll outgrow them fast.
Step 2: Nail the Push Button Fishing Reel Setup (Setup Hacks for Smooth Casting)
A poorly set-up reel = tangled lines and missed fish. Follow this:
-
Attach Reel to Rod: Ensure the reel seat (the clamp on the rod) tightens evenly. Loose seats cause wobble—my first cast went into the lake because of this!
-
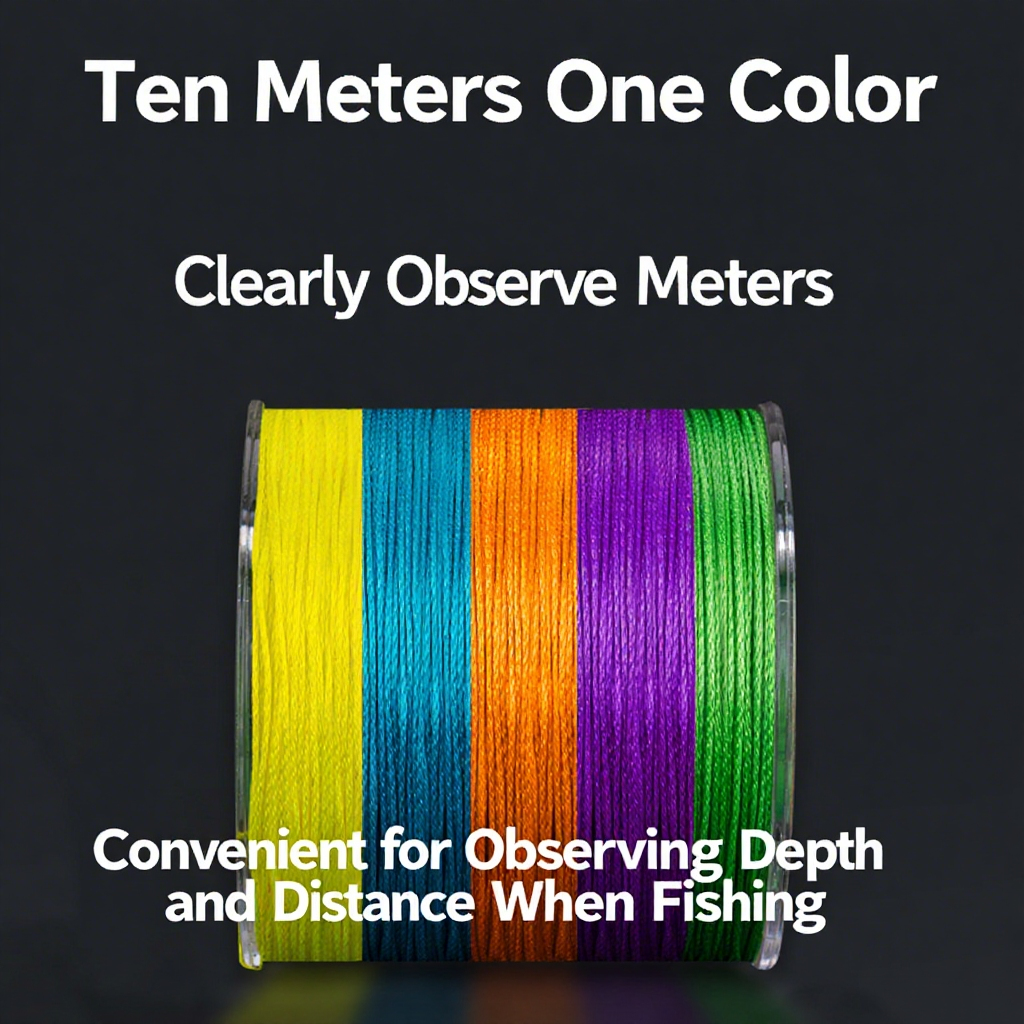
Spool with Line: Use monofilament (easy to handle) or fluorocarbon (low visibility). Fill the spool justto the rim—overfill = backlash. I use 10lb test for general freshwater fishing.
-
Adjust the Brake: For beginners, set 2–3 brakes “on” (check your reel’s manual). On my last trout trip, I forgot this—my lure zipped 20ft past the target zone!
How to set up a push button fishing reel for panfish? Focus on light line (6–8lb) and small lures.
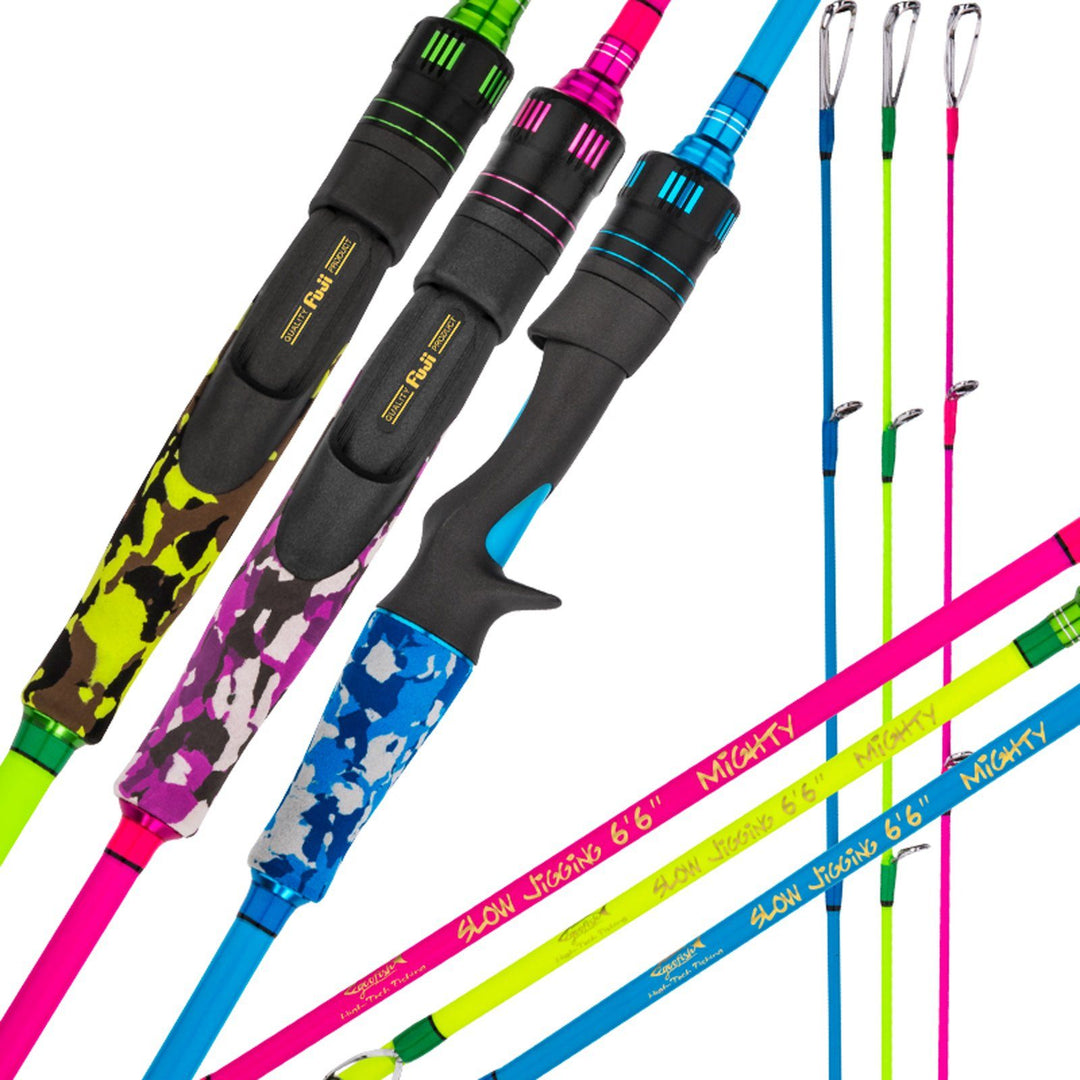
Step 3: Choose the Best Push Button Fishing Rod (Match It to Your Target)
Your rod and reel are a team—pick wrong, and you’ll struggle. Here’s the breakdown:
-
Length: 5–6ft is perfect for most newbies. Shorter rods (4ft) = maneuverability; longer (7ft) = casting distance. I use a 5’6” rod for creek fishing—easier to cast under trees.
-
Action: “Fast” action (tips bend, middle stays stiff) suits bass; “moderate” (entire rod bends) is great for trout. I once used an ultra-light, moderate rod for crappie—caught 8 in an hour! 🎣
-
Material: Graphite = lightweight (great for all-day fishing); fiberglass = durability (better for saltwater or rough handling).
Pro Tip: Grab a rod and reel combo—they’re pre-matched. Shakespeare’s Ugly Stik series is a legend for a reason.
Step 4: Pick the Right Fishing Line & Lures (Match the Hatch!)
Even the best reel/rod combo flops with bad line or lures. Here’s the science:
-
Line Type:
-
Monofilament: Stretchy (good for shock absorption) but floats.
-
Fluorocarbon: Nearly invisible underwater (great for finicky bass).
-
Braid: 3x stronger than mono, zero stretch. I use braid as a main line, then fluorocarbon as a leader (prevents fish from seeing the line). Fisheries Biology Journalfound braid increases hook-up rates by 25%.
-
-
Lure Selection:
-
For trout: Spinners (like Mepps Aglia) or spoons (Panther Martin).
-
For bass: Soft plastics (curly tail grubs) or crankbaits.
-
For panfish: Tiny jigs (1/32oz) or bread balls.
-
Real-World Hack: When in doubt, mimic the local baitfish. On my last trip, small shad were everywhere—so I used a silver spinner. Boom—5 bites in 20 minutes.
Step 5: Master Casting & Retrieval (Stop Snapping Your Line!)
Casting a push button reel is simple—but smoothcasting takes practice. Avoid these mistakes:
-
Over-Pulling the Trigger: Gentle pressure = longer casts. I once yanked so hard, my line snapped—and the lure flew into a bush.
-
Wrong Stance: Stand sideways, feet shoulder-width apart. Lean back slightly as you press the button.
-
Retrieval Rhythm: For lures, vary speed. Jerk the rod tip (for reaction strikes) then slow-roll. On a recent trip, a slow-retrieve spinner caught a 2lb bass that ignored fast-moving lures.
Pro Tip: Practice in your backyard. Aim for a trash can—hit it 5x in a row, then move to the lake.
Wrap-Up: You’re Now a Push Button Reel Pro (Almost!)
Mastering push button reels isn’t about “luck”—it’s about smart gear choices, proper setup, and practice. Remember: every angler started as a newbie. I still mess up sometimes, but now I know how to fix it.
Got questions? Drop a comment—I’ll help! Caught a monster fish with a push button reel? Share your story—we need inspiration!
Now go grab your gear, hit the water, and let those fish know who’s boss. 🎣


Leave a comment