



The best fishing rod for dogtooth tuna cannot be chosen from a blank-test number alone. For a reef-jigging plan, evaluate the intended method, exact rod configuration, recommended jig range and complete outfit with application-specific guidance.
This is a specification-based selection guide, not a verified trip report, comparative rod test or certification that a particular model will stop every dogtooth tuna near structure.
Start with the complete plan, not maximum pressure
Discuss the intended target, operating conditions, working space and landing arrangements with a qualified local operator. A rod is one part of the system, not proof that a reef situation is manageable.
Do not assume every fish follows a timed sprint to coral, that every loss has one of four ranked causes, or that increasing drag will solve the problem. This guide does not supply fixed boat-positioning or manoeuvring instructions.
| Item | Required check |
|---|---|
| Application | Actual method, target and suitable operating conditions |
| Rod | Exact configuration, recommended jig range and line guidance |
| Reel | Type, fit, controls and actual line capacity |
| Connections | Line, leader, knots, hooks and hardware as a complete system |
| Handling | Documented use limits, operating space and landing equipment |
| Transport | One-piece or detachable-section requirements |
Ocean Assassin: what the listing supports
The Ocean Assassin lists approximately 193cm / 6'4", one-piece construction, MH/Fast, PE3–6 and a recommended 200–650g jig range. Spinning and casting configurations list approximately 260g and 280g.
Its guide description identifies titanium-alloy frames with SiC rings. Grip and seat details include EVA / rubber-cork and a FUJI #20 lock nut. These are component descriptions, not guaranteed heat protection, recovery speed or long-term durability.
Do not extend its listed PE3–6 guidance to PE8 merely because a generic dogtooth setup uses that class. Similarly, 150g is below its recommended jig range.
650g is recommended guidance, not only survival reserve
For this model, the recommended range is 200–650g, not an unverified 200–400g working window. A 250g, 400g or 500g jig fits that stated range.
Range membership does not establish the best jig for a particular depth, drift or presentation. The 800g bend-test label does not extend recommended guidance.
A listing for a boat-jigging rod also does not automatically approve casting or popping with the same lure weight. “Casting” can identify the compatible overhead-reel configuration.
Do not rewrite a blank test as usable drag
The listed 47kg blank-test label is not automatically a standardised “104lb test curve.” A weight conversion would not establish what test procedure was used or what the result means in operation.
Keep the 47kg label, approximately 25kg demonstrations and 800g bend-test label separate. They do not prove breaking strain, everyday drag, fish-lifting permission or guaranteed fish-head control.
Do not infer a clamping arrangement, a load-to-failure procedure or a claim that the line must break before the rod. The Fast action label likewise does not prove an exact top-third bend under every load or a structural point beyond which the rod stops bending.

A second rod range is not a species-wide recommendation
The Monster Deep lists approximately 213cm, a detachable butt section, PE4–7, a recommended 200–600g range and a separate maximum of 700g.
Its guidance should not be substituted for Ocean Assassin's. A 500g jig fits both stated recommended ranges, but that overlap does not prove identical feel, stopping power or suitability for a particular dogtooth target.
One-piece construction affects transport and assembly. It does not establish superiority over every jointed rod or immunity to failure.
Reel configuration and capacity require their own checks
The Abyss Jigger Gen 2 lists vertical and slow-pitch jigging use, 6.08:1 gearing, a 30.06-inch reference retrieve and 300m of 0.27mm line capacity.
This is a specification reference, not an independently tested Ocean Assassin pairing or dogtooth performance endorsement. Verify the correct rod configuration, reel-foot fit, locking, retrieve hand and unloaded control clearance.
Actual capacity depends on diameter and packing; it is not working depth. A reference retrieve changes with spool fill. No universal 400m minimum, sealed-reel requirement or usable-drag figure is established here.
Line and leader: do not diagnose every failure from appearance
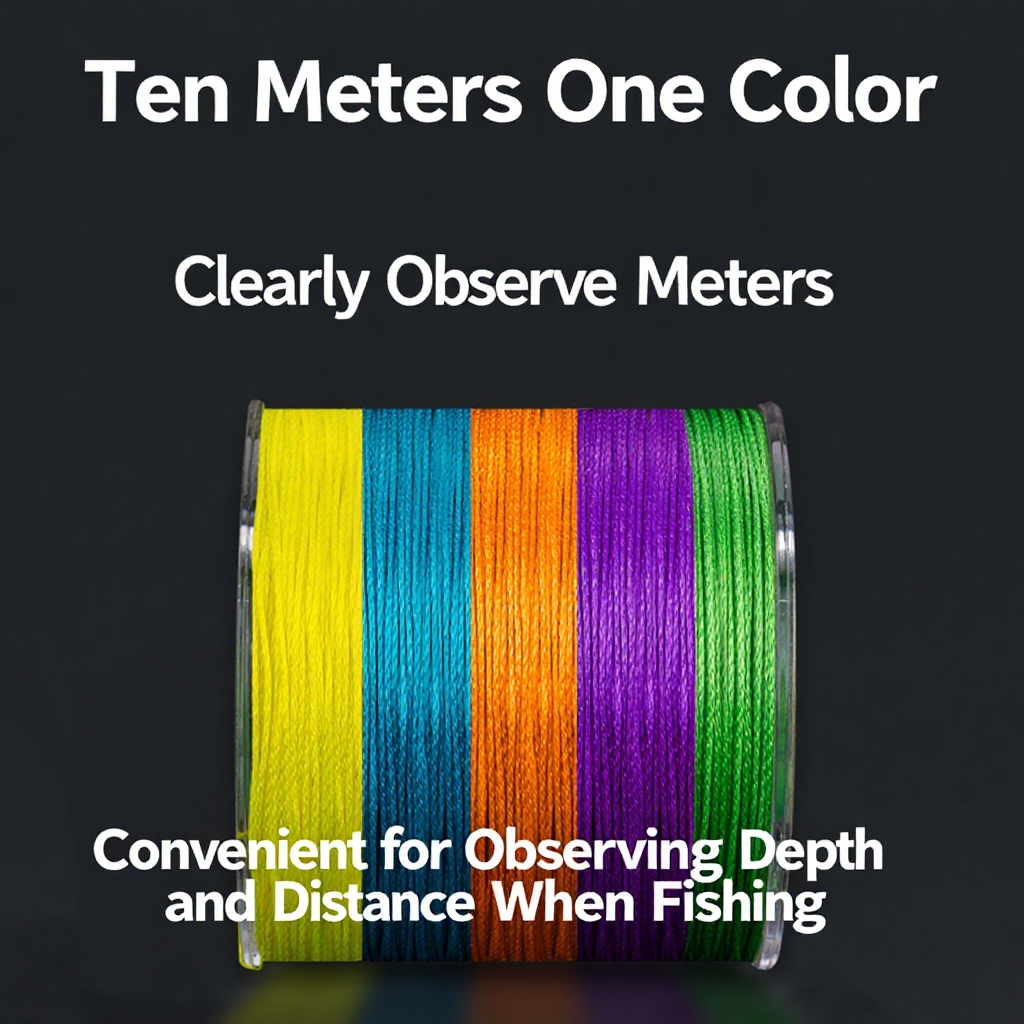
Check the selected GOOFISH Max-8 braid for its stated diameter and strength against rod and reel guidance. PE class is not a universal pound-test conversion or drag setting.
Confirm leader material, connections and hardware for the actual application, including possible abrasion and cutting risks. Do not promise that teeth cannot damage leader, that a heavy leader survives every reef contact, or that every suspected bite-off must have been a different species.
No fixed 120–200lb leader, 2–5m length, depth-only line chart or universal wire/no-wire recipe is established here. A heavier leader does not automatically compensate for every limitation elsewhere in the system.
Hooks and handling need documented compatibility
Use the jig maker's guidance for compatible hooks, rings and replacements. Do not assume every standard hook will straighten, all factory hardware must be replaced, or oversized hooks guarantee success.
Follow model-specific use and drag-measurement instructions, accounting for the weakest applicable system limit. This guide does not prescribe locked drag, immediate maximum pressure, a fixed loaded rod angle or a squat-and-stand fight routine.
Avoid high-sticking, rod-lifting fish, wrapping loaded line around a hand and improvised shock or twist tests. Pause or stop for unsuitable conditions, loss of control, pain, damage or abnormal resistance.
Do not transfer suitability between fish or methods
A shared jig weight does not certify one outfit for dogtooth tuna, GT, amberjack and grouper. Check each intended application separately instead of changing only leader and drag.
The GT gear guide separates popping from boat jigging. The deep-water grouper guide separates recommended jig range from depth and fight claims.
Dogtooth tuna outfit checklist
- Define the intended method and suitable operating plan.
- Read the exact rod configuration, jig range and line guidance.
- Check reel fit, controls and actual capacity.
- Verify the complete line, leader and hardware system.
- Inspect for damage or abnormal resistance.
- Plan suitable transport, working space and landing equipment.
Common dogtooth rod-selection questions
Does a 47kg test identify the best dogtooth tuna rod?
No. A comparative best claim needs evidence beyond a test label.
Is Ocean Assassin's 650g label only survival reserve?
No. Its current listing gives a recommended 200–650g jig range.
Can I transfer a PE8 recipe to its PE3–6 listing?
Not as though it were within the documented guidance.
Does a test label approve 12–15kg of everyday drag?
No. It does not establish an operating drag allowance.
Can the same rod be certified for four species by jig weight alone?
No. Full outfit and application-specific requirements still need checking.
Choose by the documented application
For dogtooth tuna reef-jigging planning, compare the entire outfit rather than a dramatic fish story, fixed pressure recipe or maximum test number. A clear specification is useful when its limits stay clear.





show me tuna popping rod?
show me tuna popping rod?
Leave a comment