


Useful layer control means keeping a manageable presentation around the intended fishing zone, not assuming every metre of line out equals a metre of depth. Begin with a reference, observe the drift and line behavior, and reset when control deteriorates.
This guide separates near-bottom and suspended presentations. It does not assign a fixed depth, cast direction or jig weight to tuna, marlin, snapper or any other species, and it makes no claim of verified field testing.
Establish a Reference with the Skipper
Discuss the ground, intended zone and safe drift before deploying. Sounder marks and a depth reading can inform the plan, but they do not automatically identify species, feeding activity or the precise location of your jig.
Follow the sounder's operating guidance and understand what the displayed reference represents. Do not assume a visible band is a confirmed thermocline or that fish must be holding there.
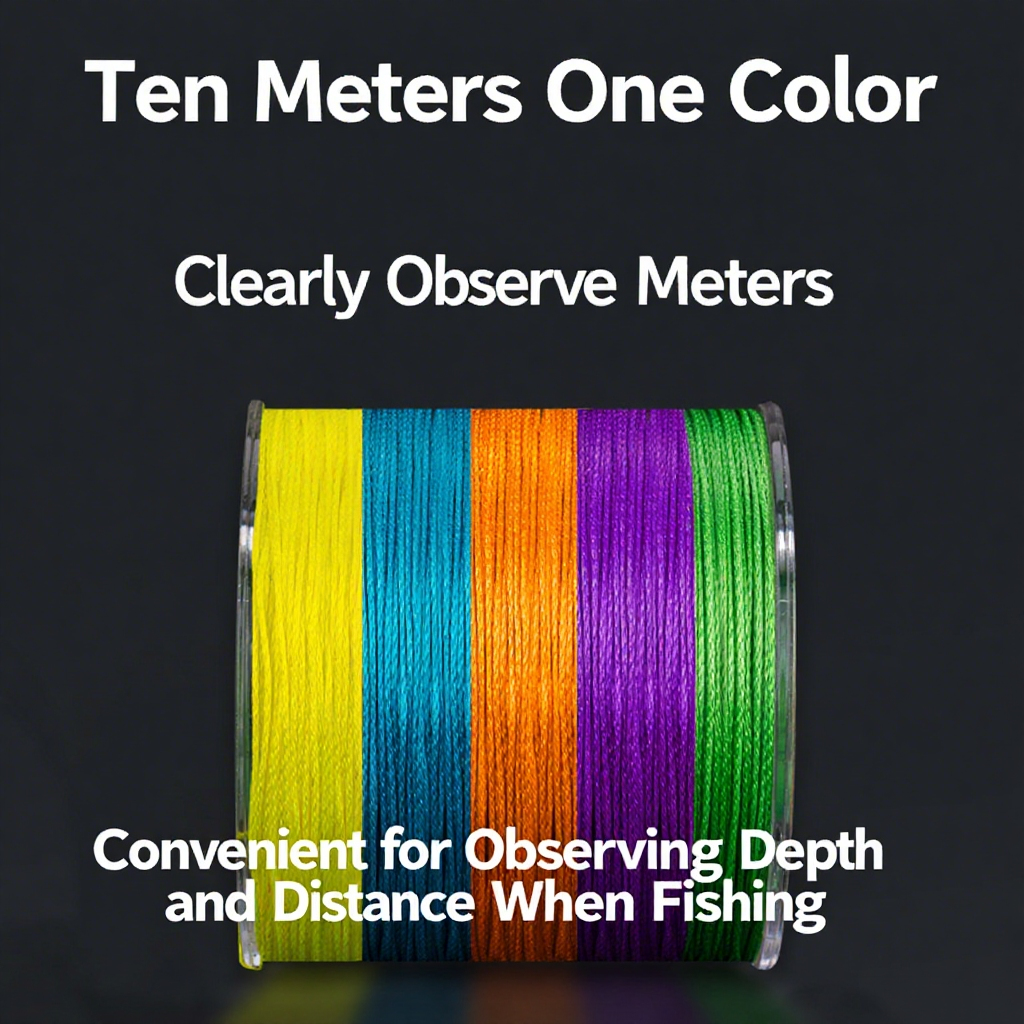
If you use marked line or a counter, understand its limitations and actual operation. Angled or bowed line is not a direct vertical-depth measurement. Reel turns are not a universal depth ruler because pickup changes with spool fill.
Near-Bottom Layers: Maintain Clearance
Use a bottom reference only where appropriate and safe. Establish it cautiously and then work clear of the ground. Near-bottom fishing is not a requirement to drag the jig or repeatedly strike structure.
Reassess as bottom depth, drift or line angle changes. Bottom contact is not compulsory over coral, wreckage or other snag-prone habitat. Discuss clearance and repositioning with the skipper rather than letting uncertainty accumulate.
A species associated with structure is not proof that every fish is on the bottom. Keep the plan responsive to the observed conditions.
Suspended Layers: Work a Defined Zone without False Precision
Use the available reference to plan a manageable working zone. Coordinate deployment, winding and fall according to the actual reel and method instead of assuming a fixed number of handle turns gives exact depth.
Observe whether line behavior and presentation remain useful as the boat moves. A mark passing under the boat does not prove the lure is directly beside the fish.
Compare one presentation variable at a time, such as lift size, winding contribution or pause. No universal 3–5-second cycle is prescribed, and a changed line signal is not automatically a bite.
Select a Working Load, Not a Species Formula
| Model | Recommended jigs | Separate maximum | Line guidance |
|---|---|---|---|
| Blue slow-pitch model | 150–400g | 500g | PE3–6 |
| Monster Deep LS-213 PE4–7 | 200–600g | 700g | PE4–7 |
Blue lists approximately 195cm assembled length; Monster Deep lists 213cm with butt-joint construction. These are not water-depth assignments or guarantees of landing a particular fish.
Match the actual jig and presentation to the complete model and variant. Current, drift, line resistance and lure design matter. A separate maximum is not a routine working recommendation, casting allowance or lifting capacity.
Action and power describe different characteristics. Do not require one Fast label for every slow-pitch outfit or reject every heavier rod without considering its intended load. Trolling rods are not interchangeable with vertical-jigging rods merely because both may be used offshore.

Check Reel Operation and the Complete Line System
The Edge Jigger 30 is a manual overhead example with listed 4.92:1 gearing, approximately 395g weight and capacity of 180m at 0.37mm. Capacity does not establish an equal vertical working depth or a guaranteed fishing range.
Confirm reel-seat fit, retrieve hand and the selected casting layout. Do not assume a linked reel includes a counter or forms a tested combo. Its 20kg maximum drag is not a working setting.
Choose line, leader, knots and connections using complete-system guidance rather than a universal inshore or offshore pound-test rule. PE class is not an exact pound-test conversion, and fluorocarbon is not guaranteed invisible or abrasion-proof.
Know When to Reset the Drift
| Observation | Useful response |
|---|---|
| Increasing line angle | Reassess positioning and drift with the skipper |
| Repeated structure contact | Reconsider clearance and the working zone |
| Restricted payout or loose loops | Stop and inspect line path and reel operation |
| Reference becomes uncertain | Re-establish the plan rather than guessing exact depth |
| Proposed jig exceeds working guidance | Select suitable tackle or change the plan |
Adding weight beyond the rod's guidance or making sharper wrist movements is not a substitute for control. Neither casting offshore nor inshore guarantees access to a specific species.
A Repeatable Layer-Control Routine
- Agree on the reference, ground and safe drift.
- Confirm the exact outfit and working jig range.
- Inspect line, knots, guides, reel fittings and connections.
- Deploy according to equipment instructions and observe control.
- Work the intended zone with manageable inputs.
- Reset when clearance or line-angle uncertainty grows.
- Record conditions and observations, including unsuccessful drifts.
A catch after changing several variables does not prove one layer tactic caused it. Keep notes useful without calling recreational observations a controlled test.
Safety and Care
Use suitable flotation and a clear working area. Keep fingers clear of moving parts, never wrap loaded line around a hand and avoid high-sticking. Do not force a snag free with an overloaded blank or reel.
Use suitable landing equipment rather than lifting fish with the rod. Follow actual assembly instructions; do not force every joint flush. Clean and store components according to their guidance.
Frequently Asked Questions
Does Line Out Equal Water Depth?
Not automatically. Line angle and bow prevent that simple equivalence.
Must I Touch Bottom on Every Drop?
No. Consider the intended layer, ground and safe clearance.
Can Sonar Guarantee the Target Species?
No such guarantee is established. Interpret its information in context.
Is There One Best Layer for Every Fish?
No universal species-depth rule is provided. Adapt to the actual observations.
Build a Manageable Working Zone
Review the Blue working range and Monster Deep specifications. Continue with our depth-control guide and slow-descent troubleshooting guide. Reference, observe and reset rather than claiming to dominate every layer.





Leave a comment