


No More Birds Nest: 3 Steps to Optimize Goofish Abyss Jigger 50 jigging reel Mag Brakes
There are few things in this world more heartbreaking—and frankly, infuriating—than looking down at your brand-new reel after a long, grueling day offshore, only to see a perfect "Jackson Pollock" of fishing line plastered across the spool. 🎨🤬
I remember my first serious attempt at reel jigging for amberjack off the coast of Guam like it was yesterday. The fish were hammering the jigs, the rod was doubled over, and adrenaline was coursing through my veins. I went for the drag... and nothing. A microsecond later, the line peeled off the spool like a waterfall, forming a chaotic, unmanageable birds nest that even my grandmother couldn't untangle. That was the last time I used the factory settings on a high-speed jigging reel.
Fast forward two years, countless dollars spent on replacement line, and a personal vow to never let physics beat me again. Today, I'm here to show you exactly how I fixed this nightmare on my Goofish Abyss Jigger 50. It’s time to learn how to stop fighting your equipment and start fishing smarter.
Welcome to the definitive guide on how to eliminate birds nests once and for all.
The Physics of Frustration: Why Do Birds Nests Happen?
Before we dive into the fix, we need to understand the enemy. Reel jigging, especially when using butterfly jigs or slow pitch techniques, involves incredibly violent, erratic retrieves. Your jigging reel is essentially a centrifuge spinning at high RPMs while you try to extract line.
When the line speed generated by the reel's handle exceeds the speed at which the line can leave the spool (controlled by the brakes), the line has only one place to go: up and over, creating that dreaded birds nest. The factory settings on most reels are designed for general use, not the extreme conditions of deep-sea reel jigging.
Meet Your New Best Friend: The Goofish Abyss Jigger 50
The Goofish jigging reels have taken the saltwater scene by storm, and for good reason. They are robust, beautifully machined, and built specifically for the abuse of vertical jigging reel saltwater applications. However, the Abyss Jigger 50, with its impressive retrieve rate and power, can be a bit too "free-spinning" straight out of the box if you don't tame its Mag Brake system.
This reel features a sophisticated Magnetic Brake System. Unlike cheaper reels that use physical brake shoes (which wear out and create drag), the Mag Brake uses powerful magnets to create resistance against the spool. The further the magnet is from the spool, the less resistance; the closer, the more intense the braking. This is the key to taming the beast.
Step 1: The "Birds Nest Autopsy" (Diagnosing the Problem)
You can't fix what you don't understand. Before you touch a dial, grab your Goofish jigging reel and give it a spin without any line on it.
-
Listen & Feel: Does the spool stop almost instantly when you release the handle? Or does it spin freely for 2-3 rotations before grinding to a halt?
-
The Test: If it spins freely multiple times, your brakes are set too weak. This is the number one culprit for birds nests during aggressive jig reels work. You need more magnetic resistance to slow that spool down immediately.
My first Abyss Jigger 50 would spin for days (or at least it felt like it). I was hemorrhaging line on every drop until I got this right.
Step 2: The "Sweet Spot" Calibration (Optimizing the Mag Brake)
This is where the magic happens. Forget the arbitrary numbers stamped on the reel's adjustment dial. We're going for a feel.
-
The "Click and Stop" Test: With the reel empty, turn the drag knob to zero. Turn the Mag Brake dial to its maximum resistance (usually the "Max" setting). Pull the handle.
-
Finding the Balance: Slowly back the dial out (reducing resistance) until the spool stops almost instantly when you release the handle. You want it to stop on a dime. For most applications with 40-60lb braid, this usually lands me somewhere in the middle of the adjustment range.
-
The Line Test (Crucial): Now, spool up your actual fishing line. Run the "Click and Stop" test again.
-
Why?Because the diameter and texture of your line (e.g., a rough braid vs. a slick monofilament) changes how it interacts with the brakes. I use a specific brand of Japanese PE braid that is incredibly slick. I had to add an extra 2-3 clicks of brake resistance compared to my friend who uses a different brand.
-
This calibration ensures that even during a frantic high-speed wind, the spool doesn't outrun the line coming off the boat's roller.
Step 3: The "Thumb Control" Method (The Human Element)
Even with perfect Mag Brake settings, there will be moments when a fish makes a massive run, or you hit a patch of turbulent water. This is where your right thumb becomes your most valuable asset.
-
Palm the Reel: Grip the reel firmly in the palm of your right hand. Your palm should be directly behind the reel seat.
-
Feathering the Spool: As you retrieve, keep your thumb lightly resting on the spool's edge. Don't press hard; just apply slight pressure. This gives you micro-adjustments to the tension.
-
The "Burst" Retrieve: When you feel a fish starting to pull, instead of locking the drag, use your thumb to gently press the spool. This technique, often called "feathering," allows you the retrieve speed you need without the catastrophic overrun that causes birds nests.
Mastering this technique took me months, but it was the final piece of the puzzle for truly mastering my jigging reel saltwater experience.
Beyond the Reel: Essential Saltwater Jigging Gear Pairings
A great reel is nothing without its supporting cast. If you are serious about reel jigging, here are the pieces of gear you absolutely cannot skimp on:
-
The Rod: Pairing your Goofish jigging reels with the right rod is non-negotiable. You need a rod with a fast tip action for sensitivity and a strong backbone to lift heavy fish. Look for jigging-specific rods in the 500-800g range for the Abyss Jigger 50.
-
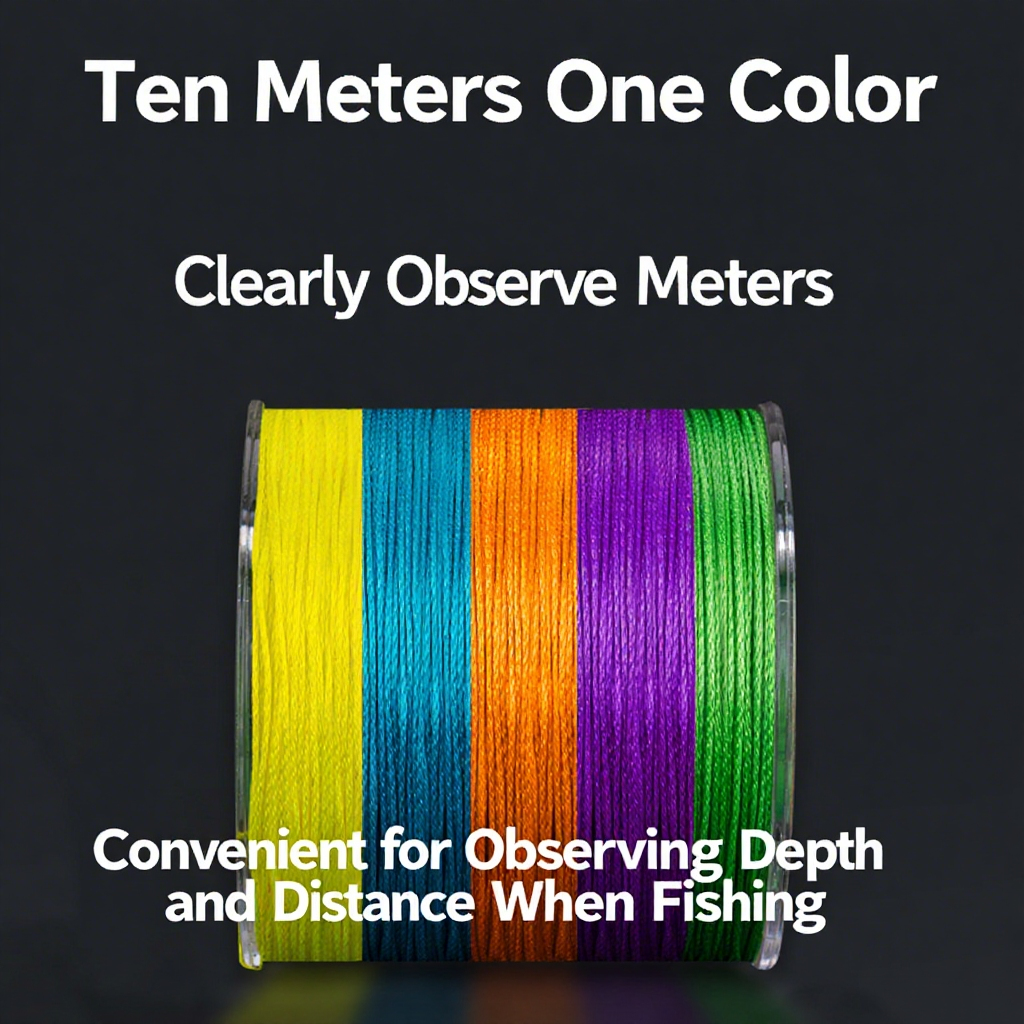
The Line: Braided line is king for jig reels. Its thin diameter allows you to feel the jig's action better, and it has virtually zero stretch, giving you instant hook-setting power. I recommend a high-quality PE braid (8-strand or 12-strand) in the 6-8 range.
-
The Jig: Don't just buy a shiny metal thing. Match your jig weight and style to the depth and current. For example, a 250g knife jig is perfect for ripping through 150ft of water on a 3-knot current, while a slow-pitch jig is better for enticing finicky fish in deeper water.
Final Thoughts on Taming the Beast
Optimizing your Goofish Abyss Jigger 50 for reel jigging isn't just about turning a dial. It's about understanding the mechanics, respecting the ocean, and developing a feel for your equipment.
That perfect cast where the jig flutters down to the strike zone, the line peeling off smoothly, and the reel retrieving with a satisfying, controlled hum... there's nothing else like it in fishing. 🎣✨
Stop letting birds nests ruin your trips. Grab your reel, head to the water, and let the Goofish do what it was born to do. And hey, if you found this guide helpful, drop a comment below. What's the craziest birds nest story you've ever had? Let's commiserate! 👇


Leave a comment